
To repair a broken suspender clip at home, assess whether the clip jaw is bent, the spring mechanism has failed, or the attachment point between the clip and the strap has torn. Bent jaw clips can sometimes be reshaped with pliers, but a clip with a broken spring or shattered jaw requires full replacement. Replacement clips are inexpensive, widely available, and can be attached to the existing strap using basic hand tools in under fifteen minutes.
A broken suspender clip does not mean the entire suspender needs to be replaced. Most clip failures are isolated to the hardware itself while the elastic strap, adjustment mechanism, and remaining clips are still in perfectly functional condition. Knowing how to diagnose the type of failure, which types are repairable versus which require a clip swap, and how to execute the replacement correctly at home saves the cost of a new pair and extends the working life of a quality suspender significantly.
Diagnosing the Type of Clip Failure

Before reaching for tools, spending two minutes understanding exactly what has failed determines which repair approach is appropriate and whether the repair is worth attempting at all.
The four most common types of suspender clip failure are:
Bent jaw: The clip jaw has been forced open wider than its designed range, often by being applied to a waistband that is too thick for the clip's opening capacity. The jaw no longer closes with enough tension to hold the fabric. In some cases this can be corrected by gently reshaping the jaw with pliers, but the metal is often work-hardened enough at the bend point that reshaping weakens it further rather than restoring it.
Broken spring: The internal spring mechanism that provides the closing force of the clip has fractured. The jaw opens freely but does not close under spring pressure. This type of failure cannot be repaired; the clip must be replaced.
Cracked or shattered jaw: The jaw of the clip has cracked from metal fatigue or impact. This is most common in low-quality alloy clips that have been used in demanding physical conditions. A cracked jaw cannot be repaired and requires full clip replacement.
Torn attachment point: The clip itself is intact but the point where the clip attaches to the strap end has torn through the fabric or the metal loop connecting clip to strap has opened. This is a strap repair rather than a clip repair and is addressed differently from the three hardware failures above.
Understanding which failure type is present determines the correct repair path. The guide on common leather suspender problems covers material-specific failure modes that affect leather-end suspenders in addition to the clip hardware issues that affect all suspender types.
Tools and Materials Needed for a DIY Clip Repair
Having the right materials gathered before starting makes the repair straightforward and prevents the frustration of stopping mid-process to find something missing.
For a bent jaw repair attempt:
- Needle-nose pliers with smooth jaws (not serrated, to avoid marking the metal)
- A flat surface to work against
- A small test piece of fabric similar in thickness to the target waistband
For a full clip replacement (the more common scenario):
- Replacement clips in the correct size and style for your suspenders
- Needle-nose pliers
- Scissors or a seam ripper
- Strong upholstery thread or a heavy-gauge waxed thread
- A hand-sewing needle with an eye large enough for the thread gauge
- Optionally, a lighter or matches for heat-sealing synthetic strap ends after cutting
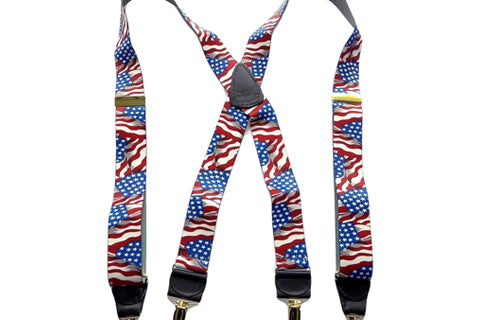
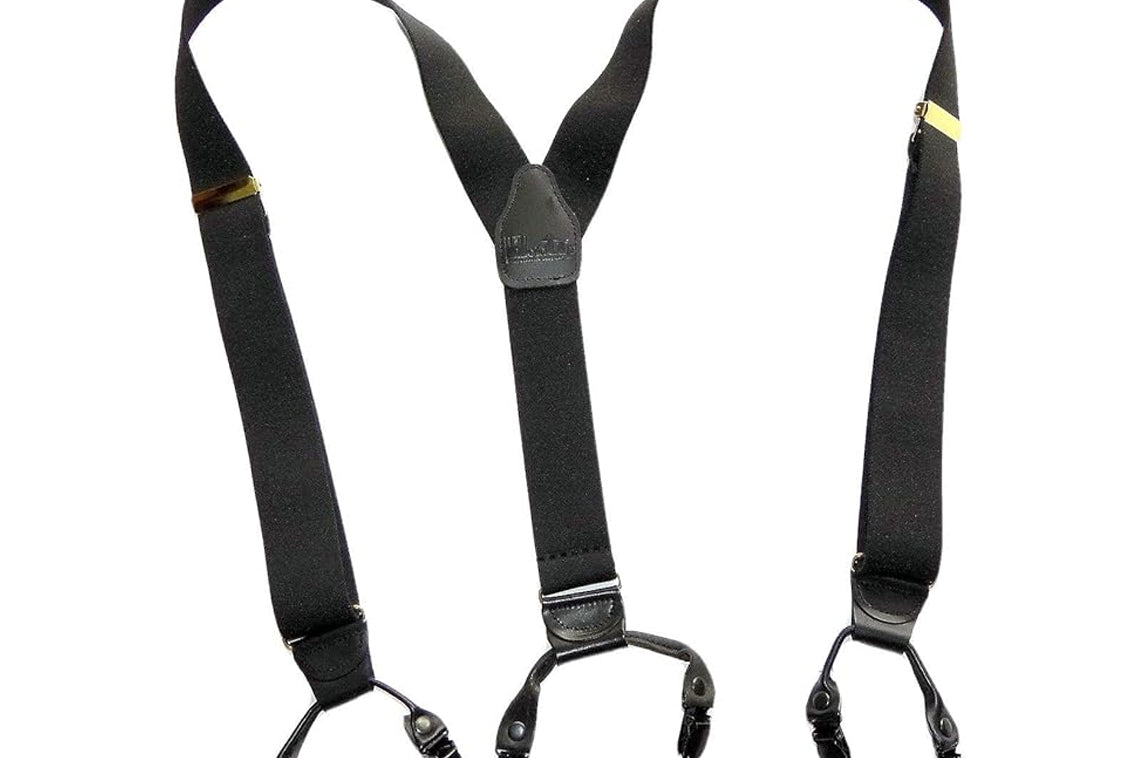
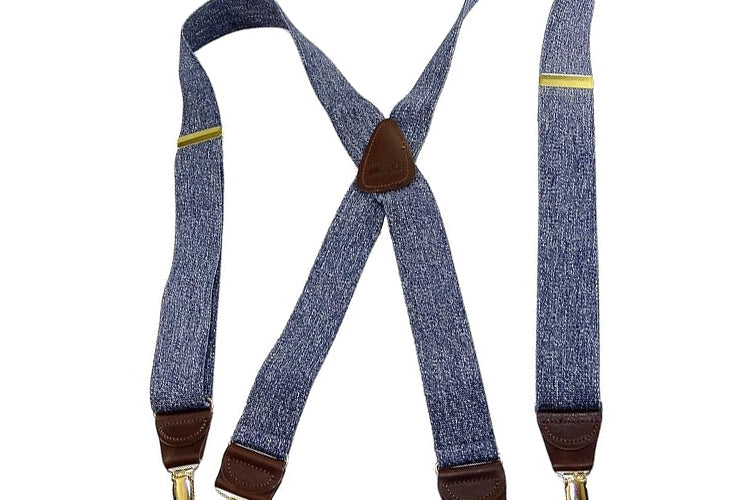
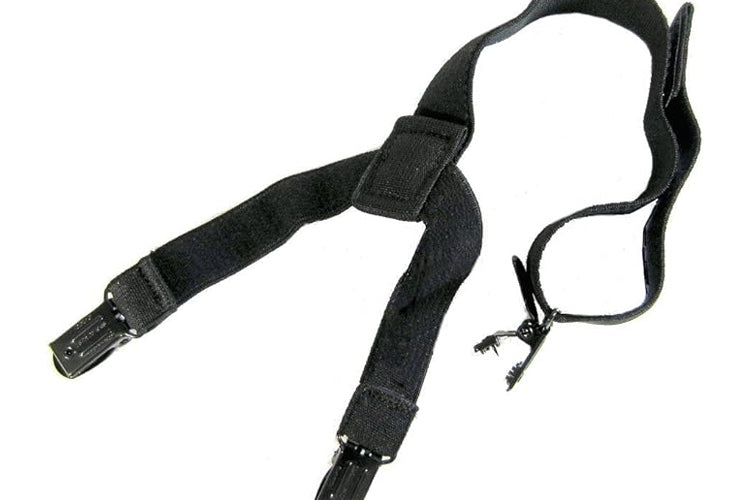
Replacement clips are available in several standard sizes. The most common replacement clip types for civilian suspenders are the standard alligator-jaw clip (the most frequently used in dress and casual suspenders), the lobster claw hook (used in some formal and heavy-duty suspenders), and the no-slip gripper clip with a serrated inner jaw (used in work and heavy-duty applications). The comparison of clip-on suspenders versus lobster claw hooks for security covers the functional differences between these hardware types and helps in selecting the correct replacement type for the specific suspender application.
Step-by-Step Repair for a Bent Jaw Clip
If the jaw is bent rather than broken, this approach is worth trying before moving to full replacement. Work slowly and check the result after each small adjustment rather than over-correcting.
- Hold the open suspender clip in your non-dominant hand with the jaw facing upward
- Using smooth-jawed needle-nose pliers, grip the jaw at the point where it has bent outward from its correct angle
- Apply slow, controlled inward pressure to bend the jaw back toward its original angle. Do not use rapid or jerking force; metal that has been work-hardened at a bend point is more brittle than it was originally
- After each small adjustment, test the clip on a piece of fabric of the same thickness as the target waistband to check whether the jaw now closes with enough tension to hold
- If the jaw holds the test fabric without releasing under a firm tug, the repair is successful
- If the jaw springs back to the bent position or cracks during reshaping, the clip has failed beyond repair and needs full replacement
A successfully reshapen jaw clip will hold reliably for light-duty wear but should be considered a temporary fix rather than a permanent one. The metal at the bend point has been stressed twice, which reduces its remaining fatigue life. Replacing the clip entirely when the opportunity allows is the more durable long-term solution.
Step-by-Step Full Clip Replacement
Replacing a broken clip entirely is the more reliable repair and is straightforward when the steps are followed in sequence. Most suspender clip attachments use one of two connection methods: a loop of strap fabric threaded through the clip's attachment bar, or a sewn leather or fabric tab looped through the clip bar and stitched closed.
For fabric loop attachment (most common in elastic suspenders):
- Examine the existing clip attachment to understand how the strap end is connected. In most cases, the strap end is folded over the clip's horizontal bar and stitched back onto itself to form a loop around the bar
- Using a seam ripper or small scissors, carefully cut the stitches holding the folded strap end closed. Work slowly to avoid cutting the strap elastic itself
- Slide the broken clip off the strap end through the loop that the unstitched fold creates
- Thread the strap end through the attachment bar of the replacement clip in the same orientation as the original
- Fold the strap end back over the clip bar to the same depth as the original fold, typically 1 to 1.5 inches
- Using heavy upholstery thread, stitch the folded strap end closed with a tight zigzag or box stitch pattern. Pull each stitch firmly and use at least three to four passes across the full width of the strap
- Tie off and knot the thread securely, then trim the excess close to the knot
- If the strap end is a synthetic material, pass the flame of a lighter quickly across the cut edge to seal any fraying. Do not hold the flame in place; a brief pass is sufficient
For leather tab attachment:
- Examine whether the leather tab is stitched closed or riveted. Stitched tabs can be opened with a seam ripper. Riveted tabs require removing the rivet with a punch or drill
- Open the tab, slide the broken clip off, thread the replacement clip bar through the tab loop, and re-stitch or rivet closed
If the strap end itself is damaged at the attachment point in addition to the clip failure, the guide on repairing holes in pants from cheap suspender clips covers the fabric repair approach for damaged attachment zones, which can be relevant when the clip failure has also torn through the strap fabric near the hardware.
When to Replace the Clip Versus the Entire Suspender
Not every broken clip situation justifies a repair. There are conditions under which replacing the clip makes sense and conditions under which replacing the entire suspender is the more practical choice.
Replace the clip when:
- The break is isolated to one clip and the remaining clips, elastic, and adjustment hardware are all in good working condition
- The suspenders are a quality pair with good elastic tension and comfortable shoulder contact that have many more seasons of use remaining
- The replacement clip type matches the original in size, finish, and jaw mechanism closely enough that the repaired suspender will perform identically to the original
Replace the entire suspender when:
- Multiple clips have failed or are showing signs of imminent failure (stiff operation, visible corrosion, hairline cracks)
- The elastic has progressively stretched and no longer maintains its tension at the natural waist
- The clip failure is accompanied by strap damage at the attachment point that would require extensive re-stitching
- The original clips were a low-quality design that contributed to the failure, in which case replacing with the same clip type will produce the same result
The guide on how to choose and style leather suspenders covers the quality markers that indicate whether a suspender is worth repairing, including the strap construction, hardware grade, and elastic quality that distinguish a long-life pair from a disposable one. For anyone deciding between repair and replacement, the classic series X-back suspenders with patented no-slip clips represent the benchmark for replacement quality that outperforms most original equipment clips.
Upgrading the Replacement Clip

A broken clip is an opportunity to upgrade the replacement to a better design than the original. Many suspenders ship with basic jaw clips that are functional for light use but not optimal for the demands of the specific wearer.
No-slip gripper clips with a serrated or textured inner jaw are the most reliable upgrade for anyone whose original clips slipped on the waistband or failed under physical activity. The serrated jaw grips the waistband fabric mechanically rather than relying on squeeze pressure alone, which produces a hold that remains secure across the full range of sitting, bending, and active movement. The guide on how to attach hooks to suspenders covers the attachment process for different hook and clip hardware types, which is useful when upgrading to a different clip mechanism than the original.
For formal or dress suspenders where the clip is occasionally visible, upgrading to a polished silver or gold finish clip in a clean, minimal design improves the overall appearance of the suspender without requiring any change to the strap itself. Metal finish should match the existing hardware on the adjustment slider for visual consistency.
For work or outdoor suspenders, upgrading to jumbo gripper clasps with a heavier jaw provides noticeably better grip on thick work trouser or bib fabric. The 2-inch wide heavy duty suspenders with jumbo no-slip clips demonstrate the clip specifications that make the difference in demanding physical wear contexts.
Converting a Broken Clip-On to Button Attachment
A broken clip-on suspender is also an opportunity to convert the suspender to button attachment, which eliminates the clip hardware entirely and produces a cleaner, more secure result for formal and business wear. The process requires sewing buttons into the trouser waistband and replacing the clip ends of the suspenders with leather or fabric button loops.
The full process for this conversion is covered in the guide on how to convert clip-on suspenders to button-on style, which walks through both the trouser button placement and the suspender end modification step by step. For anyone who has repeatedly experienced clip failures with a particular pair of trousers, converting to button attachment addresses the root cause permanently rather than cycling through replacement clips.
Preventing Future Clip Failure
Once the repair is complete, a small number of consistent practices extend the working life of the replacement clips and prevent the same failure from recurring.
- Match clip jaw capacity to waistband thickness: The most common cause of bent jaw clips is attachment to a waistband thicker than the clip's designed opening range. If the jaw has to be forced open to attach to the fabric, the clip is the wrong size for that application.
- Avoid attaching clips over belt loops: Attaching to a doubled-over belt loop rather than the flat waistband fabric puts the jaw at an unnatural angle that accelerates bending and reduces grip. The guide on how to clip suspenders to hold-ups correctly covers correct attachment positioning for different waistband types.
- Check clips before each wear: Running a finger across each clip before putting suspenders on takes five seconds and identifies a clip that is beginning to show fatigue before it fails at an inconvenient moment.
- Dry metal hardware completely after water exposure: Water accelerates corrosion of metal clip mechanisms, particularly at the spring pivot point inside the jaw. Drying clips thoroughly after any water exposure and occasionally applying a light machine oil to the pivot point prevents the corrosion-driven stiffening that precedes spring failure.
- Store suspenders hung or flat: Storing suspenders folded at the clip attachment point creates a stress concentration in the elastic at the fold that weakens both the elastic and the strap-to-clip attachment over time. The guide on hanging versus rolling suspenders for storage confirms that hanging is the best long-term storage practice for any suspender with clip hardware.
Frequently Asked Questions
Can a broken suspender clip be fixed without sewing
Yes, in two situations. If the jaw is bent rather than broken, reshaping it with smooth-jawed needle-nose pliers may restore enough closing tension to make the clip functional again without any stitching. If the clip is being replaced and the strap end uses a metal ring or bar attachment rather than a sewn loop, the broken clip can be unhooked and the replacement clipped on without any sewing required. For the more common sewn loop attachment, sewing is necessary to secure the replacement clip properly and a clip that is not stitched in place will pull free under the load of a full day's wear.
How do I know what size replacement clip to buy
The most reliable method is to take the broken clip to a hardware or sewing supply store and match it by jaw opening width and bar width. Standard dress suspender clips typically have a jaw opening of 3 to 5 millimetres and a bar width of 25 to 35 millimetres. Heavy-duty and work suspender clips have larger jaw openings to accommodate thicker fabric and wider bars to match the wider strap. If the original clip is too damaged to measure, measuring the folded strap end width at the attachment point gives the bar width needed for the replacement.
Is it worth repairing cheap suspenders or should I just buy a new pair
For very inexpensive suspenders where the original clips were poor quality from the start, replacing the clips will produce the same clip failure again because the underlying design specification is inadequate rather than the individual clip having worn out. In that situation, replacing the entire suspender with a better-quality pair that uses no-slip gripper clips from the outset is a better investment than repeated clip repairs. For quality suspenders where the clip failure is isolated and the rest of the pair is in good condition, repair is clearly the better option.
Can I replace a clip-on suspender clip with a stronger clip type
Yes, and this is often the best outcome of a clip repair situation. Replacing a basic jaw clip with a no-slip gripper clip of the same bar width upgrades the holding performance of the suspender permanently. The replacement simply needs to match the bar width of the original so the existing strap loop fits correctly around the new clip's attachment bar. Upgrading from a smooth jaw to a serrated gripper jaw produces noticeably better fabric grip without requiring any other change to the suspender.
How long does a DIY suspender clip repair take
A bent jaw repair attempt takes five to ten minutes including testing. A full clip replacement using the sewn loop method takes fifteen to twenty-five minutes depending on how quickly the original stitching can be removed and how confident the person is with hand sewing. The process is not technically difficult but does require patience during the re-stitching step to ensure the new stitching is tight enough to hold the clip securely under load. Allow additional time if this is the first repair attempt.