
Suspenders are a timeless accessory that possesses both aesthetic and functional value. Whether dressing up for a special event, adding a vintage look to your casual wear, or simply seeking functionality in your clothing, suspenders are the answer. Keeping the suspenders securely fastened and fitting well can be an issue, particularly when using hooks. Hooking onto suspenders can be easy, but it is important to do so correctly for comfort and longevity.

Why is Proper Hook Attachment Important?
Hooking your suspenders properly is crucial, as it determines how securely they stay and whether they will be comfortable. Inadequate hooking of suspenders can result in discomfort, slipping, or even breaking under tension. Properly placed hooks provide maximum safety, keeping suspenders firmly in place as you go about your daily business.
When applied correctly, hooks can provide both function and fashion, adding a touch to your ensemble without fear of them unfastening.
How to Attach Hooks to Suspenders?
Attaching hooks to suspenders is easy enough, but there are a couple of steps to ensure they are well-secured and in place. Here's the step-by-step guide to hooking on a suspenders to assist you.
Step 1: Gather Your Tools and Materials
Before you start, ensure you have all you need:
-
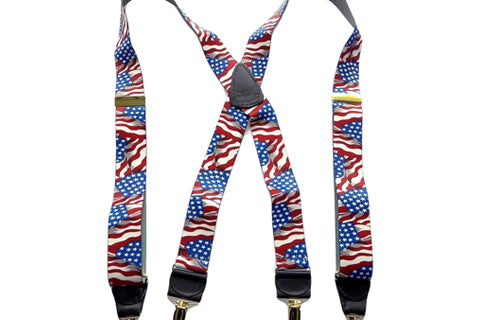
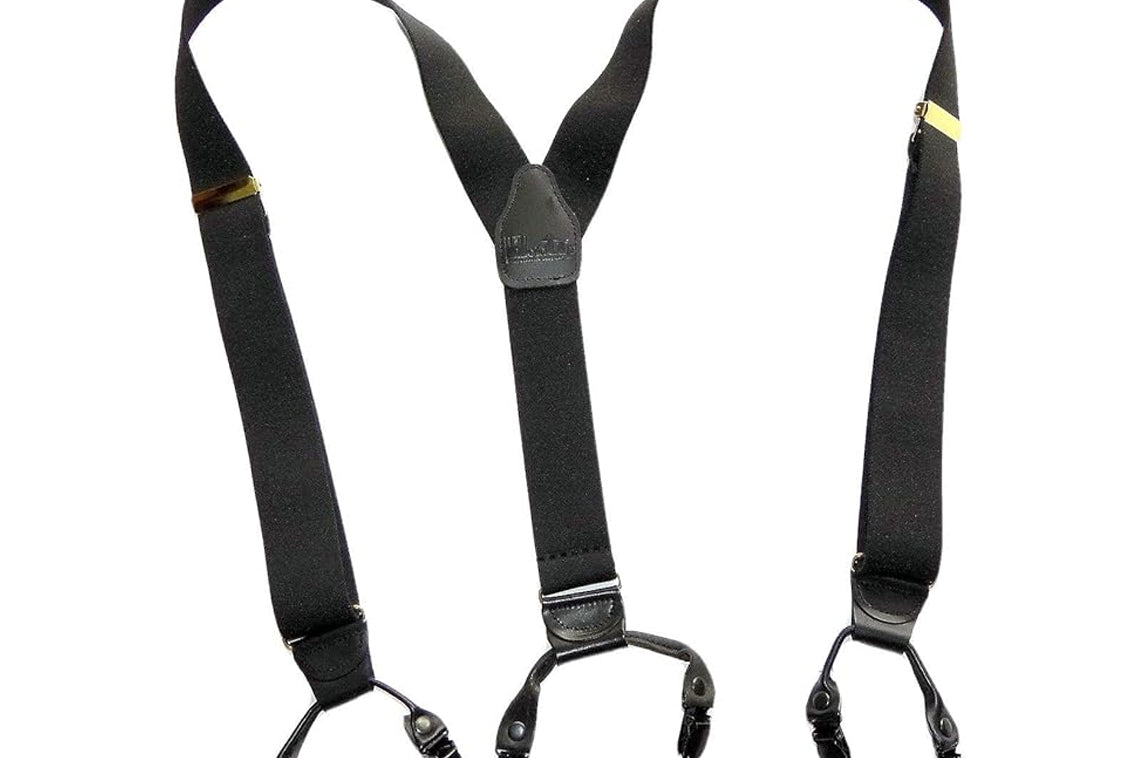
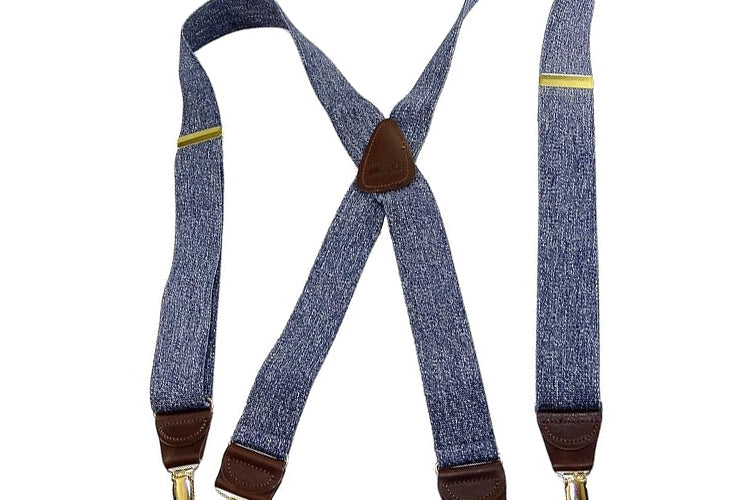
Suspenders: Make sure they're the right length for your figure.
-
Hooks: Clip-on or button type, whichever you prefer.
-
Sewing Materials: If you're adding button-type hooks, you'll need thread, a needle, and buttons.
-
Measuring Tape: For accurate positioning of hooks or buttons.
-
Scissors: For cutting off excess fabric or thread.
Step 2: Choose the Hook Type (Clip-on or Button-Style)
Determine which type of hook to use before attaching it. Clip-on hooks are quicker to attach and don't involve sewing, while button-style hooks provide a stronger, retro appearance. The process of attaching both types differs:
-
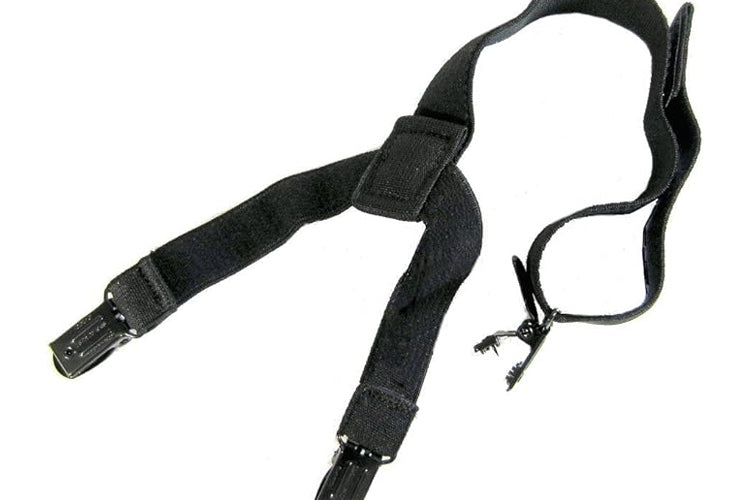
Clip-on hooks: These may be clipped onto the fabric suspenders and don't need sewing.
-
Button-style hooks: These involve sewing buttons onto the waistband of your pants or trousers to create a more permanent fastening. They are more secure and longer-lasting, but do need some sewing ability.
Step 3: Measuring Placement
To get a professional fit and appearance, the positioning of the hooks matters. Begin by taking measurements where you would like your hooks to sit. If you are using clip-on hooks, position them evenly on either side of the suspenders.
With button-type hooks, take precise measurements to have the buttons directly across from one another on the waistband of your pants. Take this step slowly and deliberately to achieve symmetry and balance.
Step 4: Attaching Clip-on Hooks
Clip-on hooks are the easier of the two. Here's how to attach them:
-
Position the hook: Put the clip at the end of the suspender strap where you intend to secure it.
-
Fasten the clip: Press it down firmly once it's in position to securely attach it to the fabric. Make sure it's securely fastened and won't come off too easily.
-
Try the attachment: gently pull the clip to confirm it's well secured and can hold the weight of the suspenders.
Step 5: Attaching Button-Style Hooks
Attaching button-style hooks requires a bit more work. Here's what to do:
-
Mark the Button Position: Take measurements and mark the desired button positions on your pants. This should be in conjunction with the clip positions on the suspenders.
-
Sew the Buttons on the Pants: Using a needle and thread, sew the buttons onto the waistband of your pants. Ensure that the buttons are securely and tightly sewn.
-
Prepare the Hooks: If you’re working with button-style hooks, make sure the hooks have small loops that can fit securely around the button.
-
Attach the Hooks to the Buttons: Slide the hooks onto the buttons and adjust them to ensure a snug fit.
-
Once the buttons are securely fastened to your pants and the hooks are attached, you’re all set!
Step 6: Final Adjustments
Once you have hooked the suspenders, put them on to check the final suspender fit. Position the straps to their optimal length for a perfect fit. The suspenders should hold your pants in the right position, neither too tight nor too loose. Ensure the hooks are securely fastened and that you can move freely.
Conclusion
It's easy to attach hooks to suspenders, but it is important to do it right for functionality and aesthetics. Regardless of whether you choose clip-on or button-type hooks, measuring, attaching, and adjusting are essential to ensure a snug fit. With these simple steps, you can wear your suspenders comfortably without fear of slipping or coming loose.
If button suspenders are your preference, remember they offer greater security, whereas clip-on hooks are best suited for quick, simple configurations. Either way, properly attaching hooks to your suspenders ensures maximum support and comfort throughout the day.
Frequently Asked Questions
Can I tell if my hooks are securely attached?
Pull gently on the hooks once you have attached them to ensure they fit securely. Clip-on hooks should not be easily detachable. For button hooks, make sure that the buttons are tightly sewn.
Are buttons able to be attached to any form of pants?
Yes, buttons can be affixed to all but the weakest types of pants, provided the waistband is strong enough to support them.
What kind of hooks are ideal for daily usage?
Clip-on hooks are practical and best suited for daily use, particularly if you want a more relaxed or temporary hook. Button-type hooks offer a more permanent and secure fit.
How do I change the length of my suspenders once the hooks are attached?
Most suspenders have adjustable straps. If you must adjust them, simply move the adjuster to the desired length.