
To adjust suspenders, open the clamp on each slide adjuster, move the fabric up to tighten or down to loosen, then close the clamp to lock the length in place. Attach the straps to the back of your pants first, slide them over your shoulders, then clip or button the front. The straps should sit flat on your shoulders with light upward tension, no digging, and no sagging.
Getting the fit right on a pair of suspenders makes the difference between an accessory that works all day and one you are constantly adjusting. Whether you are wearing clip-on suspenders with jeans or button-style braces with a suit, the adjustment process follows the same core principles. This guide walks through every step, including how to measure for the right length, how both clip and button mechanisms work, and how to troubleshoot the most common fit problems.
What Types of Suspenders Can Be Adjusted, and How Do They Differ?
Before adjusting suspenders, it helps to know which type you are working with. The two main categories are clip-on and button-on suspenders, and they use different attachment and adjustment mechanisms.
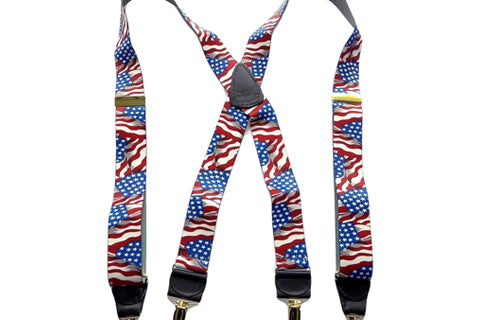
Clip-on suspenders use metal or plastic clips that grip onto the waistband of your pants. They work with almost any pair of trousers and require no special preparation. The clips open and close around the fabric, and the strap length is controlled by a slide adjuster on each strap. Elastic clip-on suspenders are the most common variety and are suitable for casual wear, workwear, and most everyday outfits.

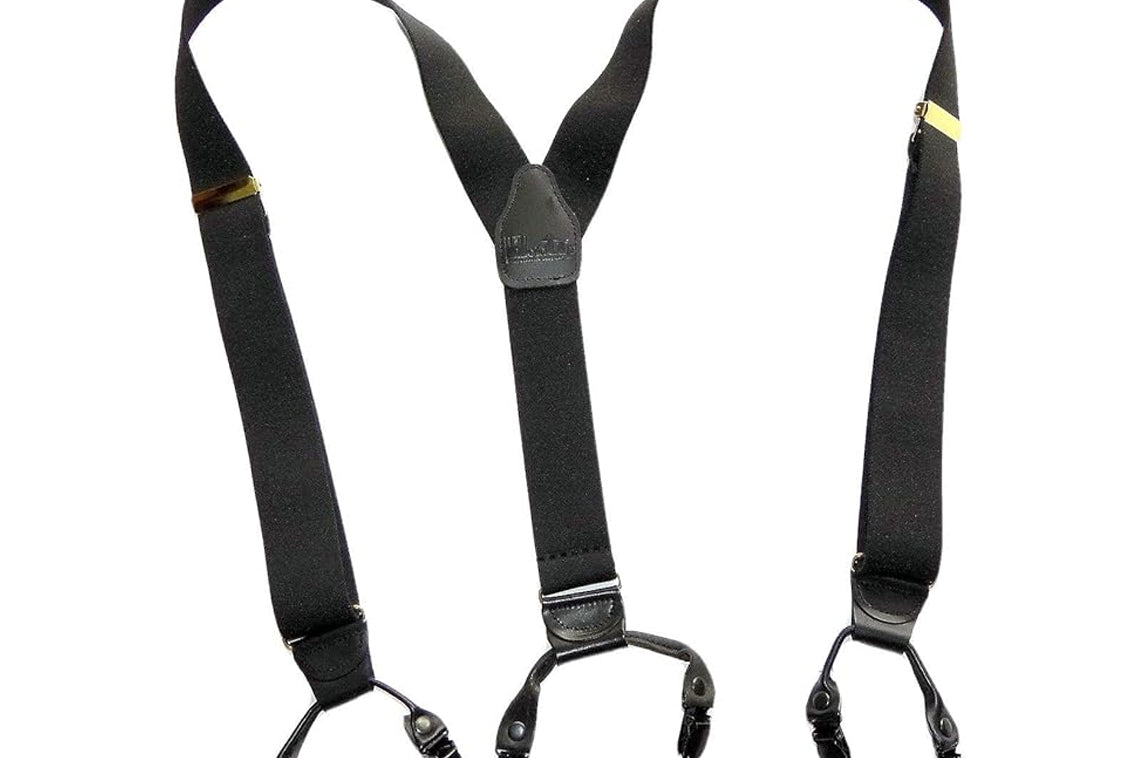
Button-on suspenders, also called braces, attach to buttons sewn onto the inside of the waistband. They provide a cleaner, sleeker look that suits formal wear and tailored trousers particularly well. Because the attachment point is hidden inside the waistband, there is no visible hardware at the waist. Trousers made for braces have these buttons already installed; otherwise, a tailor can add them. A full comparison of the two styles is available in the button suspenders vs. clip-on guide.
Both types use the same slide adjuster mechanism to control strap length, so the core adjustment process is identical regardless of how they attach to your garment.
How to Measure for the Right Suspender Length Before Adjusting
Measuring before you adjust saves time and prevents the frustration of being too far off from the correct starting point. Suspenders are sized by overall length, which typically runs from the front waistband, over the shoulder, and down to the back waistband.
The standard approach is to measure from the front waistband button or clip position, over your shoulder, to the back waistband, adding a few inches to account for adjustability. For most adults this falls in the 42 to 48 inch range. Taller individuals or those with a longer torso will need longer suspenders. For detailed sizing guidance by height and build, the suspenders size chart guide covers every body type.
A useful rule of thumb: when the suspenders are correctly adjusted and attached, there should be light but consistent upward tension on the trousers. The pants should not sag away from the waist, and the straps should not pull so hard that they distort the shoulder seam of your shirt or jacket. That tension zone is your target when measuring and adjusting.
How to Adjust Suspenders: Step-by-Step

Follow these steps in order for the cleanest result. It is easier to attach the suspenders to the back of the pants before putting them on, then slide into them and attach the front.
Step 1: Open the slide adjuster clamps
Each strap has a small slide adjuster, usually located on the back portion of the strap near where it meets the center. Lift the small lever or tab on each clamp to unlock it. This releases the grip on the fabric and allows you to move the strap up or down through the adjuster freely.
Step 2: Set a starting length
Before attaching the suspenders to your pants, pull each strap to roughly the length you expect to need based on your measurements. This gives you a sensible starting point and reduces the number of micro-adjustments needed once they are on your body.
Step 3: Attach to the back of your pants
For clip-on suspenders, open the jaw of each clip, insert the waistband fabric of your pants between the jaws, and release the clip to close it firmly around the fabric. Position the clips evenly on either side of the center back seam. If you are not sure exactly where to place them, this guide on where to clip suspenders explains the correct placement by pants type.
For button-on suspenders, slide each leather or fabric loop over the button sewn inside the back waistband. Each strap end should have a slit or loop specifically sized for a standard trouser button. If your trousers do not have interior buttons, a tailor can add them in the correct positions. The guide to suspender button placement covers the exact positions.
Step 4: Slide the straps over your shoulders and attach the front
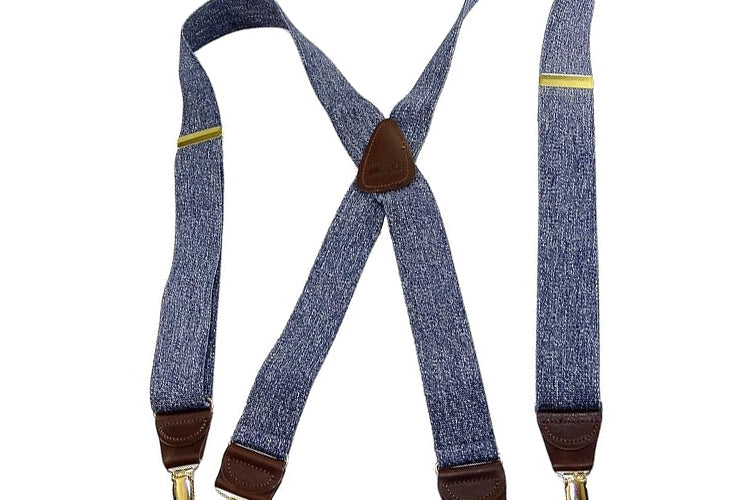
Put on the trousers with the back clips or buttons already attached. Bring the straps forward over your shoulders, one on each side. Attach the front clips or buttons to the front waistband, positioning them at roughly the trouser crease on each side. For X-back suspenders, the straps will naturally cross at the rear as you do this. For Y-back suspenders, they will run straight down from a single center point at the back.
Step 5: Fine-tune the length on each strap
With the suspenders now fully attached and on your body, lift the clamp lever on each slide adjuster. Move the strap up through the adjuster to tighten, or down to loosen. Make this adjustment while standing upright so you are feeling the actual tension rather than the compressed fit of sitting. Close the clamp firmly once you reach the right length. Repeat on the other strap, checking that both sides have equal tension. Uneven adjustment is the most common cause of suspenders that pull to one side.
How to Adjust Suspenders for Different Pants Types

The same adjustment technique applies to all trousers, but the target length changes depending on how the pants are cut and where they sit on the body.
| Pants Type | Adjustment Note |
| Pleated trousers | Higher waistline requires shorter straps; adjust until pleats hang straight |
| Regular or flat-front trousers | Adjust to desired rise; standard length settings apply |
| Jeans | Use clip-on style; adjust until denim sits naturally without bunching at the waist |
| Waistcoat or vest combination | Attach slightly lower on the waistline; check that both layers sit flat without bunching |
When wearing pleated trousers, the goal is for the pleats to hang straight and flat when you are standing. If the pleats are pulling open at the front, the suspenders are too short and lifting the waistband too high. If the fabric is bunching below the waist, the straps need to be shortened further. For guidance on wearing suspenders specifically with this trouser style, this guide on suspenders with trousers covers the interaction in detail.
When adding a waistcoat to the combination, attach the suspenders to the trousers first, then put on the waistcoat over them. The waistcoat should sit smoothly over the suspender straps at the front. If the waistcoat is pulling or bunching around the straps, the suspenders may be sitting too wide on the shoulders. Move the straps slightly closer together at the shoulder until the layering sits cleanly.
What Are the Most Common Suspender Adjustment Mistakes?
Most fit problems with suspenders trace back to a small number of recurring errors. Knowing them in advance makes the adjustment process much faster.
Adjusting unevenly. The most frequent issue is having one strap tighter than the other. This causes the whole assembly to pull sideways and the trousers to sit crookedly. Always adjust both straps to the same position on the slide adjuster and check the visual symmetry in a mirror.
Wearing them too tight. Suspenders that are shortened too much dig into the shoulders, pull the trousers uncomfortably high, and can distort the shoulder seams of shirts and jackets. If you feel any shoulder pressure after a few minutes of wear, loosen both straps slightly. They should feel present but not forceful.
Wearing them too loose. Loose suspenders sag off the shoulders, leave the trousers under-supported, and create a sloppy visual line. If the straps are resting flat on the chest or sliding toward the arms when you move, shorten them until there is consistent light tension pulling the trousers upward.
Clipping to the wrong part of the waistband. Clips attached to the very top edge of a waistband can pull the fabric forward or cause the waistband to roll. Clip into the body of the waistband fabric rather than the topstitched edge for a cleaner hold with less fabric distortion.
Trying to adjust while seated. The sitting position compresses the torso and makes everything feel shorter than it actually is. Always stand upright when making length adjustments so you are working with the correct reference posture.
How to Troubleshoot Suspender Fit Problems
Even after careful adjustment, fit problems can develop during wear. Here is how to address the most common ones without removing the suspenders entirely.
If the suspenders keep slipping off your shoulders, the straps are too long or the shoulder width between the front clips is too wide. Shorten the straps first. If slipping persists, move the front clip positions slightly closer to the center of the waistband. X-back suspenders resist shoulder slipping better than Y-back styles because the crossed rear straps create a more stable anchor point. For a full comparison, the guide to suspender back styles explains when each works best.
If the trousers are sagging despite the suspenders being attached, either the clips are not gripping the waistband firmly enough or the straps need to be shortened. Check each clip to make sure it is fully closed around the fabric and not just resting on the outer edge of the waistband. If the clips feel like they are losing grip over time, the spring mechanism may be worn and the suspenders may need replacing.
If you are experiencing shoulder discomfort after extended wear, the straps are too tight or the suspension point is in the wrong position. Loosen both straps and check that they are running over the meatiest part of the shoulder rather than the neck-side. Wider straps distribute weight more evenly and cause significantly less discomfort than narrow ones for all-day wear.
Conclusion
Adjusting suspenders correctly comes down to four things: starting with the right length estimate, attaching the back before the front, checking symmetry on both straps, and testing the fit while standing rather than sitting. Once those habits are in place, the process takes less than a minute and the result holds securely all day. If you are new to wearing suspenders and want a broader orientation before starting, how to put on suspenders easily walks through the full wearing process from the beginning.
Frequently Asked Questions
How tight should suspenders be?
Suspenders should create light but consistent upward tension on the trousers, holding them at the waist without lifting them noticeably above it. You should be able to slide one or two fingers under each strap at the shoulder. If you feel shoulder pressure, digging, or restricted movement, the straps are too tight. If the trousers sag or the straps rest loosely on the chest, they are too loose.
Where should suspenders sit on the shoulders?
Each strap should sit over the top of the shoulder, roughly in line with the shoulder seam of your shirt or jacket. They should not be so close to the neck that they press on the collarbone, and not so wide that they sit at the edge of the shoulder and risk slipping off. The center of the strap should track over the fullest part of the shoulder when viewed from the front.
Can I adjust suspenders while wearing them?
Yes. Reach over your shoulder, lift the clamp lever on the slide adjuster, move the strap up to tighten or down to loosen, and close the clamp again. The adjustment is easier if you have someone help on the rear strap, but it is manageable solo on the front straps and most slide adjusters are accessible without removing the suspenders.
What is the difference between adjusting clip-on and button-on suspenders?
The strap length adjustment is identical on both types, using the same slide adjuster mechanism. The difference is in how they attach to the pants. Clip-on suspenders use spring-loaded clips that grip the waistband fabric and can be repositioned easily. Button-on suspenders use loops or slits that loop over interior trouser buttons and provide a more secure, hidden attachment. Button-on styles require trousers with the appropriate buttons already installed. More detail is in the guide to adjusting button suspenders.
How do I stop suspenders from slipping off my shoulders?
First shorten the straps until there is clear upward tension pulling the trousers. If slipping continues, switch to X-back suspenders, which use crossed rear straps to anchor the assembly more securely. Alternatively, move the front clips slightly inward toward the center of the waistband, which shifts the strap path toward the center of the shoulder and reduces sideways drift. Straps running too close to the arm will always tend to slide outward during movement.
How do I know if my suspenders need to be replaced rather than adjusted?
If the elastic in the straps has lost its spring and the suspenders feel limp or do not return to tension after being stretched, they need replacing. Clips that no longer grip the waistband firmly, or that require excessive force to open, are worn out and will eventually fail. Button loops that have stretched or frayed beyond the button size will not hold reliably. Correct adjustment can solve fit problems but cannot restore worn-out mechanical components.